Cold Brew Coffee for Beginners
We’ll walk you through an easy, practical way to make a smooth, less acidic drink at home. Cold brewed coffee is made by steeping coarse beans in cold or room-temperature water and letting the mixture rest slowly, usually overnight.
Start with a reliable ratio: about 1 cup of beans to 4 cups of water. That gives a concentrated batch you can pour over ice or dilute with milk or water to taste.
No fancy gear is needed—just a jar, a strainer, and cheesecloth. Using filtered water and a coarse grind helps clarity and makes straining easier.
We’ll compare this method to iced coffee made hot, cover gear and timing, and share storage tips so you can brew a large batch and keep it in the fridge for the week. Expect straightforward steps and practical pro tips to help us get consistent flavor every time.
Cold Brew Coffee for Beginners: What It Is and Why It’s Different
Using cool water and long steep times yields a concentrate that tastes sweeter and less sharp than hot-brewed drinks. We define this method as extracting grounds with room-temperature liquid over many hours, not as hot coffee cooled down.
In contrast, iced coffee starts as hot drip and is chilled before serving. That approach can taste thin or bitter once poured over ice. The main variables that separate the methods are water temperature and steep time.
- The slow infusion pulls out flavor and caffeine while leaving behind many harsh, sour compounds.
- We can serve the concentrate over ice, or warm it gently without extra bitterness.
- Strength is easy to adjust by adding water or milk to each cup coffee.
- Baseline steep time is about 12 hours, though longer steeping changes the profile.
| Method | Water Temp | Typical Time | Flavor |
|---|---|---|---|
| Cold method | Room-temp / cold | 12–24 hours | Smoother, less acidic |
| Iced drip | Hot | Minutes to brew, then cool | Brighter, can be bitter when iced |
| Concentrate use | Cold or warmed | Adjust by dilution | Versatile; milk or water tune strength |
Next, we’ll show the exact gear, grind size, ratios, and a simple recipe to make a reliable batch at home.
What we need to make cold brew at home
A great batch hinges on three things: fresh beans, filtered water, and the right steeping vessel.

Coffee beans and grind size
We start with whole coffee beans and grind coffee just before we brew. Set the grinder to the coarsest setting.
The grounds should look like coarse cornmeal. That coarsely ground texture prevents muddy, over-extracted results and makes straining easier.
Filtered water and the starting ratio
Filtered water gives a cleaner, sweeter cup. Use about 1 cup beans to 4 cups water as a starting ratio.
Adjust strength later by adding water or more beans when we test the concentrate.
Gear checklist
- Steeping vessel: a large Mason jar or a French press works well.
- Straining: a fine mesh strainer lined with cheesecloth, flour sack, or a paper filter.
- Storage: a clean jar or bottle to keep the concentrate in the fridge.
| Item | Purpose | Notes |
|---|---|---|
| Mason jar | Steep and mix | Affordable, easy to seal; fits most fridges |
| French press | Steep and separate | Press helps remove large grounds before fine straining |
| Fine mesh + cheesecloth | Clarify concentrate | Catches small coffee grounds and yields cleaner liquid |
| Storage jar | Keep concentrate | Label with date; refrigerate up to a week |
Step-by-step: how we make cold brew coffee
A straightforward routine—grind, combine, steep, and strain—keeps the process fast and repeatable. Below we lay out each action so we can make cold brew consistently at home.
Grind beans to a coarse texture
We grind coffee beans on the coarsest setting so particles resemble coarse cornmeal. Coarsely ground pieces extract evenly and make straining easier.
Combine grounds and filtered water
We add measured grounds to a jar or a french press, then pour in filtered water and stir to fully wet the grounds. This ensures even saturation before steeping.
Steep undisturbed for 12–24 hours
We cover the container and let it rest at room temperature or in the fridge. About 12 hours gives a lighter concentrate; up to 24 hours increases strength but may risk harshness. Watch the time and adjust to taste.
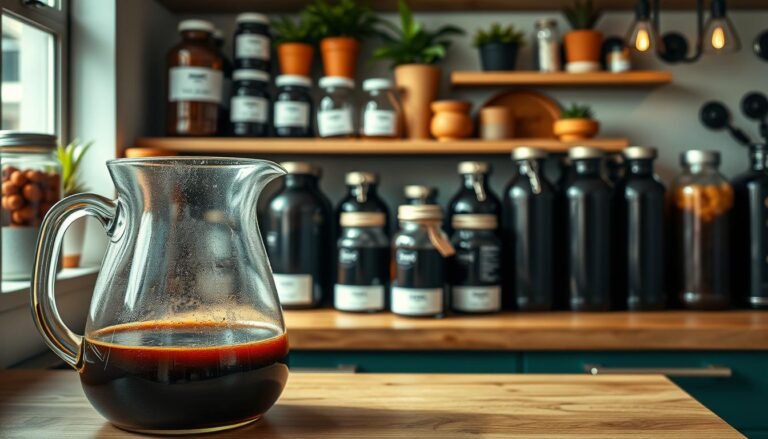
Strain the concentrate and store
We set a fine mesh strainer lined with cheesecloth over a bowl and strain slowly. If using a french press, press gently then decant into a bowl and transfer to a clean container.
- If grit remains, re-filter through a finer medium.
- Pour coffee concentrate into a labeled storage jar and refrigerate.
- Clean gear promptly so it’s ready for the next batch.
| Steep Time | Typical Strength | Notes |
|---|---|---|
| 12 hours | Light | Bright, easier to dilute |
| 15 hours | Medium | Balanced; many prefer this window |
| 20–24 hours | Strong | Full-bodied but risk of bitterness |
Ratios that work: from everyday sips to stronger concentrate
We dial in ratios so each batch tastes the same cup after cup. A reliable everyday starting point is 1 cup beans to 4 cups water. That yields a balanced concentrate that plays well over ice or with milk.
For a bolder, barista-style concentrate try about 1.5 cups coarsely ground coffee to 3 cups filtered water. This roughly 1:2 ratio creates a strong base you can dilute to taste before serving.

Small changes in the amount of beans or cups of water shift perceived strength a lot. We recommend changing doses in small steps so we don’t overshoot the flavor we want.
Keep consistency by measuring both grounds and water every batch. Grind size matters: finer than intended will make the brew taste stronger and muddier even with the same measurements.
- Everyday sip: 1 cup beans : 4 cups water — balanced and easy to dilute.
- Stronger concentrate: 1.5 cups grounds : 3 cups water — robust, dilute before serving.
- Test side-by-side: make two small brews to compare and lock in a house recipe.
| Ratio | Expected Strength | Best Use |
|---|---|---|
| 1 cup : 4 cups water | Balanced concentrate | Daily cups, over ice, with milk |
| 1.5 cups : 3 cups water | Strong concentrate | Barista-style, dilute before serving |
| Adjust ±10% | Fine-tune intensity | Personalize flavor; keep notes |
Store it right for a week of better coffee
Proper storage keeps flavor stable and makes mornings faster with one jar in the fridge. After we strain the concentrate, we transfer it to a clean bottle and chill it immediately. That short step preserves aroma and prevents off smells from the fridge.
Fridge storage, containers, and freshness tips
We use glass containers because they do not leach flavors and clean easily. Keep the lid on tight and decant gently to leave any fine sediment behind.
- Store strained concentrate in an airtight jar or bottle to block oxygen and odors.
- Refrigerate right away and use within about a week for peak flavor and aroma.
- Label the container with brew time and date so we track freshness.
- Use filtered water and clean gear to keep the recipe bright; avoid leaving the jar at room temperature.
- Shake gently if slight separation occurs before pouring over ice or adding milk.
| Container type | Best use | Storage time | Notes |
|---|---|---|---|
| Glass jar | Daily pour-offs | Up to 7 days | Neutral taste, easy to clean |
| Sealed bottle | Travel or fridge shelf | Up to 7 days | Good seal limits odor pickup |
| Plastic pitcher | Large batches at home | 4–7 days | Use food-grade; rinse thoroughly |
Serve and customize: over ice, with milk, or hot
A single batch of concentrate gives us many serving options. We can make a crisp iced drink, a creamy cup, or a warm mug without extra bitterness. Small tweaks change texture and taste quickly.

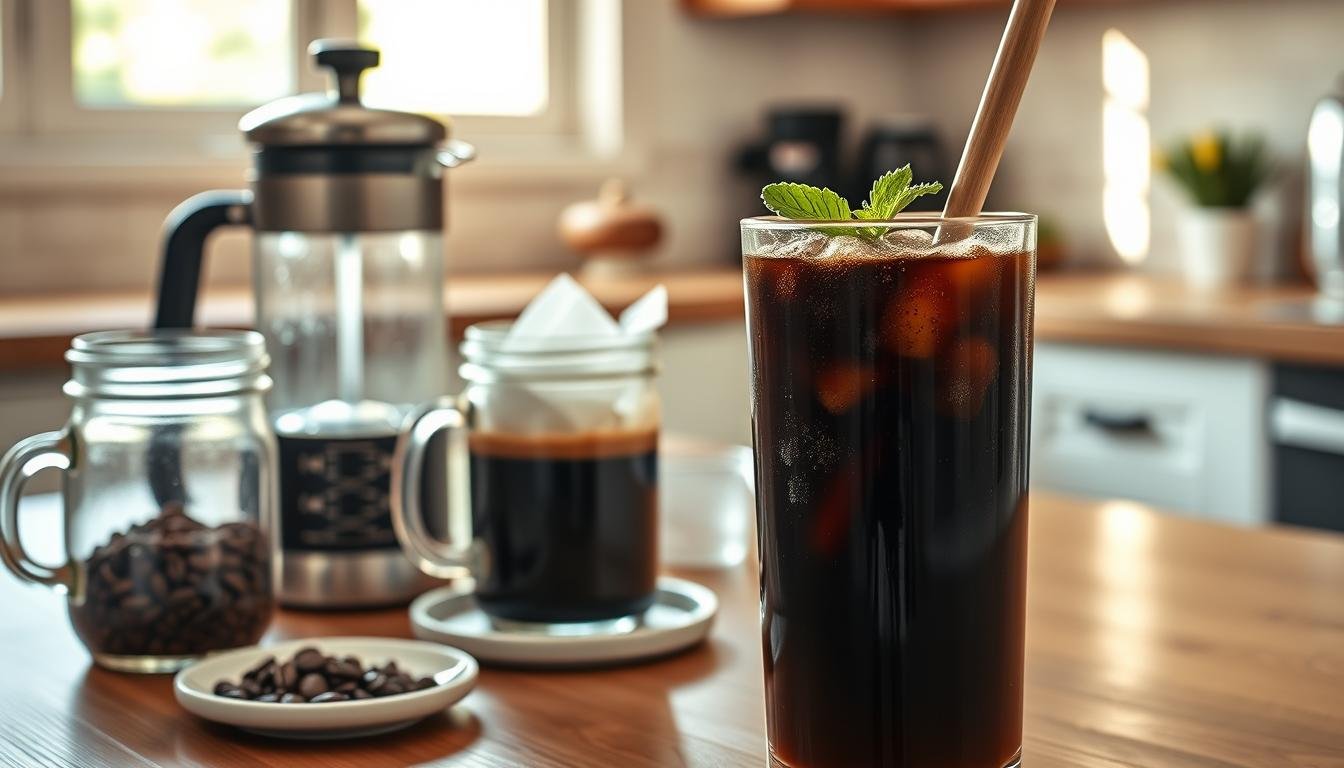
Pour over ice and adjust with water
Fill a glass with ice and pour concentrate over it. Let the ice melt slightly; it will gently dilute the drink and open the flavor.
If it feels strong, add a splash of water until the balance suits your palate. We sometimes use larger cubes to slow dilution.
Add dairy or plant milk for creaminess
Stir in milk to soften acidity and add body. Almond and oat milks give a silky texture, while half-and-half creates a richer cup.
Sweeten with simple syrup or flavored syrup after dilution so the sweetness blends evenly into the final drink.
Warm it gently for a smooth hot coffee
To serve warm, pour a measured amount into a microwave-safe cup and add a little water first. Heat briefly and stir; the extra water tames intensity.
We can also warm on the stove over low heat to preserve aroma without bringing out bitterness.
- Fill a glass with ice and pour; adjust with water to taste.
- Use plant or dairy milk to create a creamier cup.
- Make coffee ice cubes from leftover concentrate to chill without watering down.
- Keep a bottle in the fridge so each cup is a quick pour-and-dilute away.
| Serving Style | Typical Dilution | Best Additions | Use Case |
|---|---|---|---|
| Iced over ice | Concentrate + water or melt | Large ice, simple syrup | Hot days, casual sips |
| Milky cup | Concentrate + milk (1:1 to 1:2) | Oat, almond, half-and-half | Creamy morning drinks |
| Warmed | Concentrate + splash of water | Gentle heating, cinnamon | Comforting hot coffee without bitterness |
Pro tips and quick fixes
Minor tweaks can rescue a weak or gritty batch and get us back to consistent cups fast.
If it’s too bitter or muddy
Start by checking grind size. Use a coarse grind that looks like coarse cornmeal to avoid over-extraction and muddiness.
If we left the steeping time long, shorten it next time. Many of us aim for about 12–15 hours to keep harsh notes at bay.
If it’s too weak
Increase the grounds slightly or extend steep time within the 12–24 hour window. Test one change at a time so we know what improved the brew.
If it’s gritty
Strain again through a fine mesh lined with cheesecloth or a paper filter into a clean bowl. A french press can speed initial separation; then decant slowly to leave sediment behind.
- Keep the grinder burrs clean to keep extraction consistent.
- Use filtered water to highlight natural flavor and avoid off-notes.
- Record grind, hours, and water ratio so we can repeat wins.
| Issue | Quick Fix | Tool |
|---|---|---|
| Bitter or sharp | Coarsen grind; shorten steep time | Grinder |
| Too weak | Add more grounds; extend hours | Scale |
| Gritty or cloudy | Re-filter through cheesecloth or paper | Fine mesh + bowl |
Your first batch awaits: brew, chill, and enjoy at home
Start a batch now and see how a little patience pays off in flavor. We grind our beans coarsely until they look like cornmeal, add filtered water, and let the mix steep at least 12 hours. Use about 1 cup coffee beans to 4 cups water for a balanced concentrate or 1.5 cups ground coffee to 3 cups water for a stronger recipe.
We strain through a fine mesh lined with cheesecloth into a clean jar or container, refrigerate up to a week, and label the bottle. Serve over ice in a glass, dilute with water or milk to taste, or warm a measured portion when we want hot coffee. With simple tools and steady timing, we make cold brew and enjoy reliable brewed coffee at home.